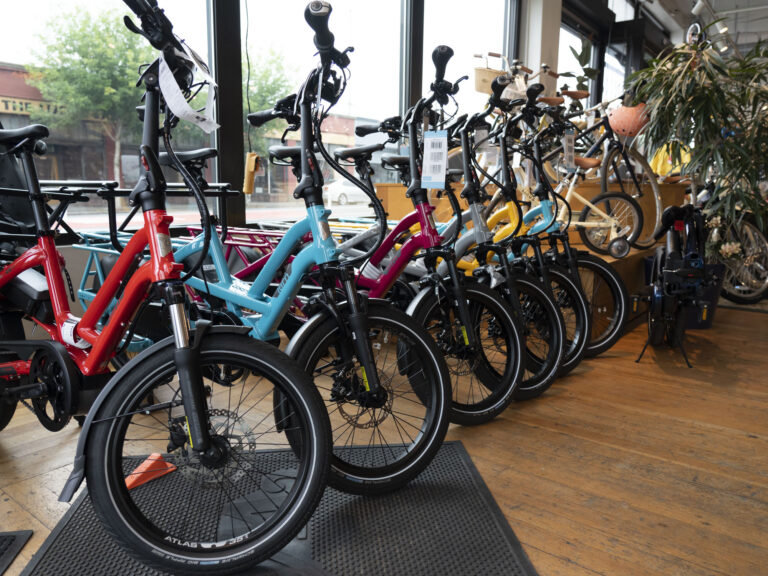
If you are looking to be a better bike owner in the new year there are 4 bike parts you should be checking every 100 to 200 miles to avoid costly repairs and unreliable bikes. Today, we are covering what these 4 items are, why they are important, and how to check them over.
Is video not your thing? There is text below 🙂
Before you jump into checking “wear items”, I want to make sure you are already doing the basics of properly inflating your tires and lubing your chain if you have one.
• Basic Bike Maintenance
• How to Find Proper Bike Tire Pressure
The items I want you to check are considered true wear items that are also required for reliability and safety. These are going to be your tires, drivetrain with either a chain or belt, and any safety items like a kickstand, steering rod, or child seat install.
These are all wearable items and their wearing timeline really depends on a few things:
• The time of the year with weather conditions
• Road and trail conditions of crud being kicked up at you
• How much weight and speed you are carrying on different types of terrain
For example, we recently moved to a very hilly neighborhood. I used to go through brake pads every 1,000 miles and now after the move, I’m getting about 700-750 miles due to the heavy loads I’m carrying down hills. The same goes for my chain since I am now putting much more stress and torque on the chain going uphill than before, and my kids are getting heavier!
Another example would be that in wet conditions you’ll experience more glass or road debris getting stuck to your tires instead of flicking away. It sticks to the tire for a full rotation and then the weight of your bike + body + cargo are pushing that potential flat causing headaches into your tires. I’m also often running slightly less air pressure in my tires in the wet and snow for traction which will cause the tires to wear a little faster and be more likely to push that sharp item into the rubber.
This is also a good time to mention a previous video I did where I talked about the difference between bike repair and bike maintenance. Today we are talking about preventative maintenance, checking these things is good for your safety but will also save you a lot of money long term.
Now that I’ve convinced you that you too should check these main parts every 100 miles, let’s have a look at how to do it. 🙂
CHECKING BIKE BRAKES
The first item is brake pads. If your brake pads wear too much before you catch them they could ruin your rotor if you have disc brakes, or the rim of your wheel if they are rim brakes.
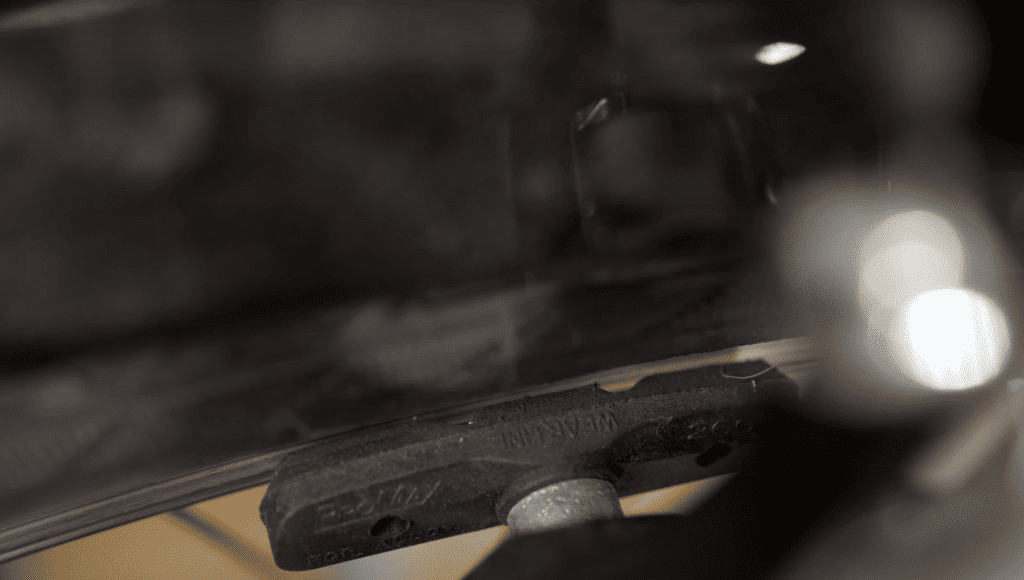
The rim brakes style is pretty easy to check. Looking down at the pads, you’ll want to see grooves left in the pads, some brake pads have marks on the pads as wear indicators. The other thing to look for on rubber brake pads is that there isn’t anything stuck in your pads like metal shavings that could be worn on your brake surface.
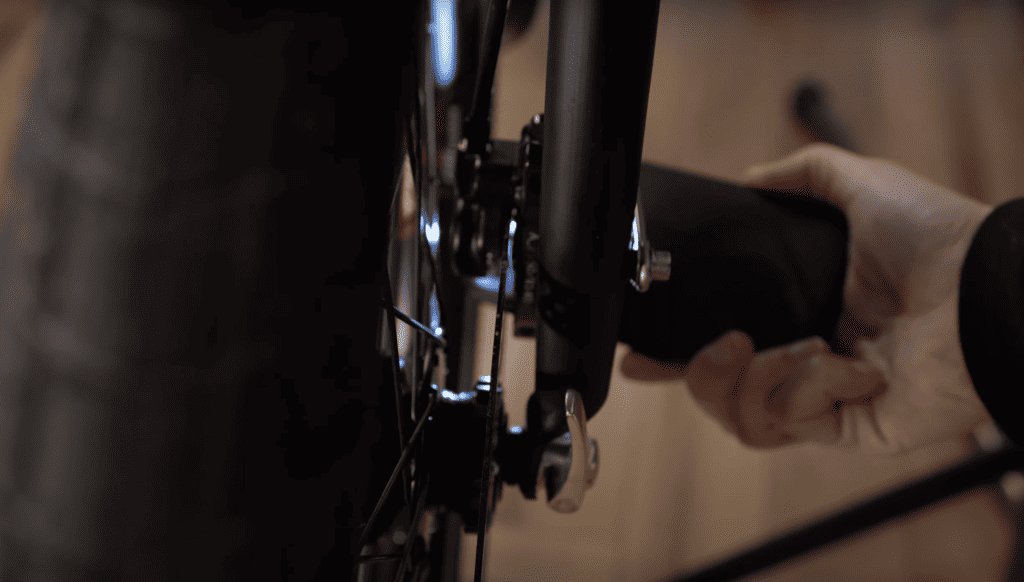
Disc brake pads are a bit harder to check. I typically use a headlight or my phone flashlight if the lighting isn’t great. They begin with about 4mm of pads, it is helpful to know what your brakes looked like when they were new. You want to replace them when they have about 1.5mm or 25% of the original. The biggest thing is you want to ensure you catch them before all of the compound is gone and the metal backing of the pad is contacting the metal rotor.
The other thing with brakes I like to check is that when I pull my brake levers, they don’t come all the way back to the bar or pinch my other fingers. This typically indicates worn brake pads or if they are hydraulic brakes you may need a brake bleed.
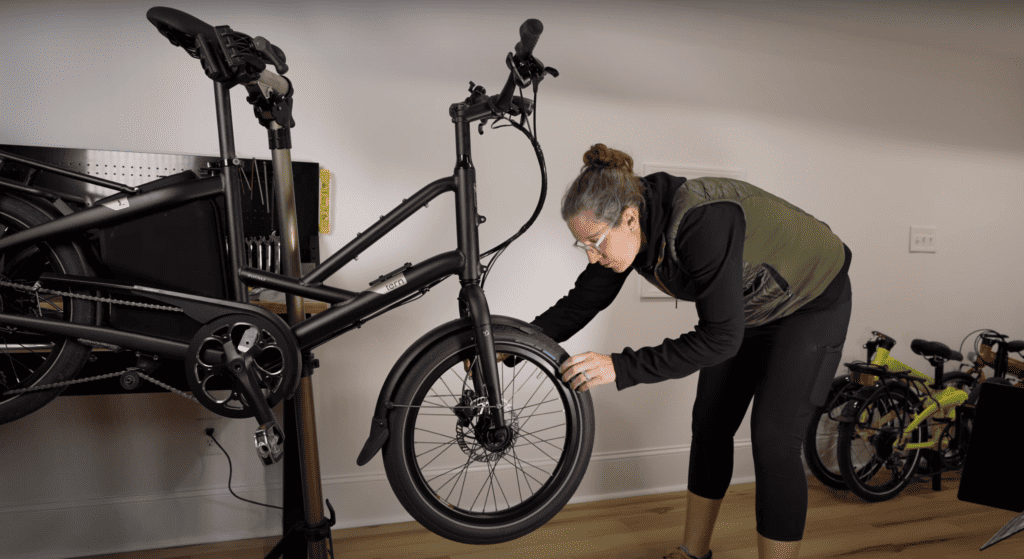
CHECKING BIKE TIRES
I pump up my tires every few days of riding, but every 100 miles you want to check that there isn’t anything stuck in your tires by slowly spinning the wheel and looking at the tread. The other thing I’m checking is for wear of the tread, and sidewalls. Do I still have the braking groove in the tires? Do I see any threads showing on the sides? Are there any cuts? Again this can be performed on the ground one wheel at a time or using a stand. If you have a Tern e-bike, they stand vertically which is very handy for checking the tires and brakes.
If you are interested in learning more about tire pressure, and the most important preventative maintenance you can do, check out this video.
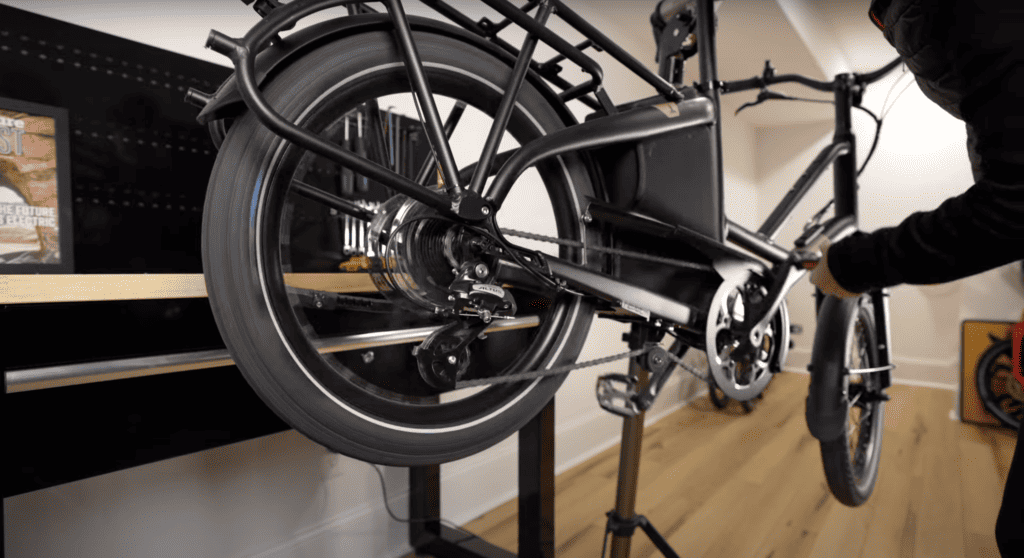
CHECKING YOUR BIKE CHAIN
Basically, everything that helps move that rear wheel forward when you pedal is part of your DRIVETRAIN. This is typically a chainring, chain, and rear cassette.
There are two things I’m checking on a chain – #1 is it lubed properly?
Over-lubing is just as bad as under-lubing. Watch here for bike chain lubing tips.
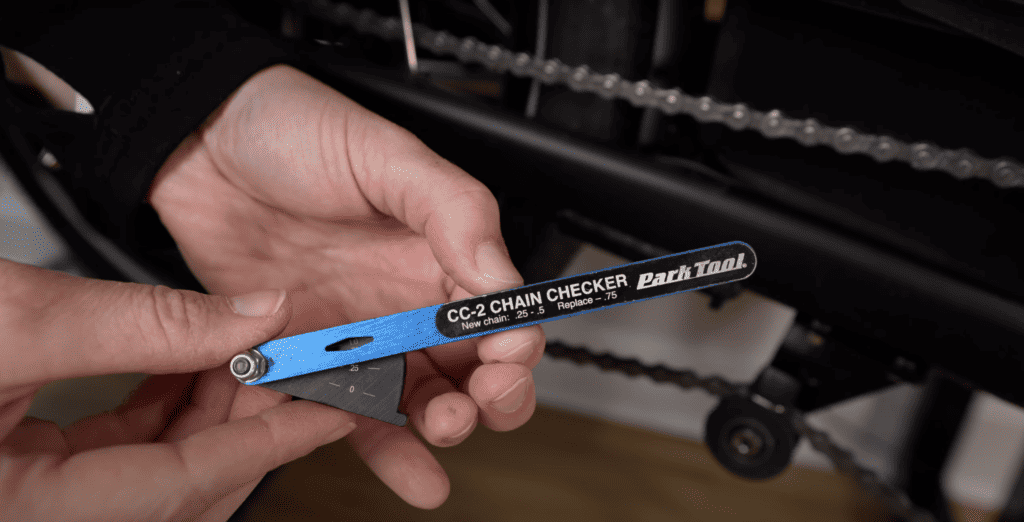
#2 is for chain wear.
When a chain wears the bushings between the links wear down, and the distance between them is greater. This can then wear down your rear cassette or cog, and front chainrings. Our goal is to catch the chain before it is 75-80% worn so it doesn’t wear the other parts. If you do this right, you are going to save yourself a lot of money from replacing the more expensive cassette or chainrings.
To do this, I personally use a Park Chain Checker. This measures the distance between those bushings. If you are an avid bike rider either for transportation or this $14 tool
SAFETY ITEMS
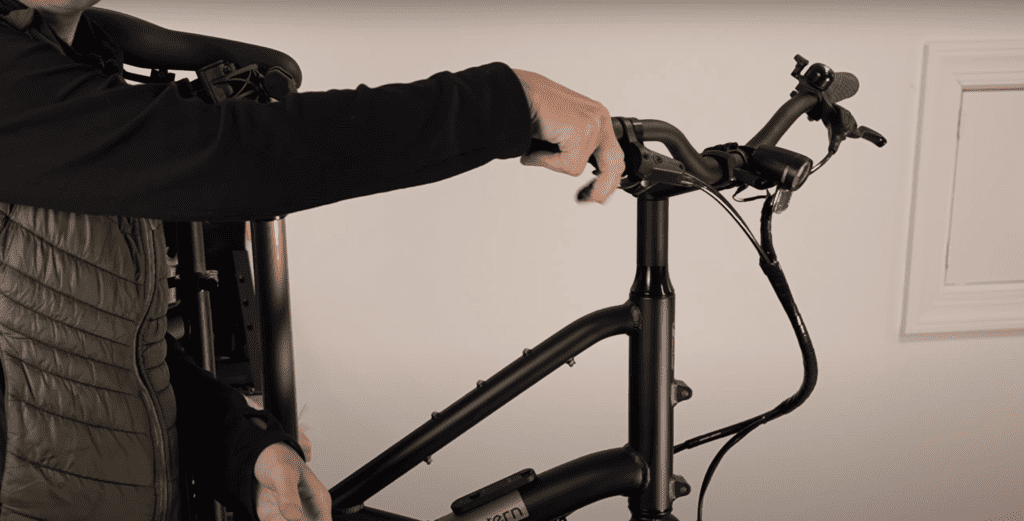
As you get to know your bikes you’ll learn what needs to be checked every 100 miles. But for the first 500 miles I’ll be checking the kickstand – is it tight and sturdy? For a bakfiets cargo bike, does my handling feel tight or do I have a slight, wobble before it turns, if I carry my kid in a seat, I check the seat, if I carry a trailer, I check the trailer hitch mount. If things seem to loosen too often, I may look into lock tight or adding a locking washer or second nut.
YOU GOT THIS!
Reading this may seem daunting, but you got this. It will take 20 minutes the first time you do it, and then maybe 5-10 the more you do it.
Let me know what questions or comments you have, and I’ll see you next week!